Under Construction....

Please excuse my interweb-dust! Changes are underway- thanks for your patience!
Showing posts with label Frugal Fridays. Show all posts

Friday, March 7, 2014

{7QT} Watermellon Shampoo, Facebook, Pants and Some Random Links

~1~
My husband (the Hunkiest of Husbands, truly) likes those 3-in-1 shampoo-conditioner-body wash concoctions.

He justifies this because most of his body is covered in hair, anyway. (It's true.) I don't share the same 3-in-1 passion.

Well, he ran out of the previous giant bottle, so we had to run into town after church on Sunday to get a new giant bottle... but they were all out! No 3-in-1 goodness to be found! 


HH searched high and low (while I looked at nail polish) and found....


this.

Yes, my very large, very manly husband is using children's shampoo that smells like watermelon. Ponder that with me.

~2~
Also, I bit the bullet and got mah'self a Facebook page. It's a lonely, lonely place at the moment. "Like" me, really "Like" me!

~3~
Sometimes, you'll see an amateur musician on a YouTube video and go, "Man. That was terrible."

This is not one of those times. 

For some reason, the video won't embed, so follow this link. Trust me.  

~4~
Reading: The Truth About Church No One is Talking About by We Are That Family

~5~
My women's retreat last weekend took place in a big city. A city with a mall that contains a Starbucks. It was a big deal. 

During a couple of hours of free time on Saturday, I rode along with some of the other ladies to said mall and said Starbucks. And we stopped at Old Navy. And they were having a sale with jeans for $15.00! 

I am stingy when it comes to, well, everything. But especially clothes. I haven't bought new clothes (like, not from Goodwill) in over a year. All of my jeans were purchased in college. And I've gained about 15 pounds since college. I've been squeezing myself into those same jeans and feeling terrible about myself. 

Anyway. Old Navy. $15.00 jeans. I bought two (two!) pairs of jeans that are actually.my.size. What!? I love them. 

There they are... in all their unfolded glory. Excuse the unmade bed.
Having a pair of pants that fits me well has done wonders to my self-esteem. I didn't know they could do that. 

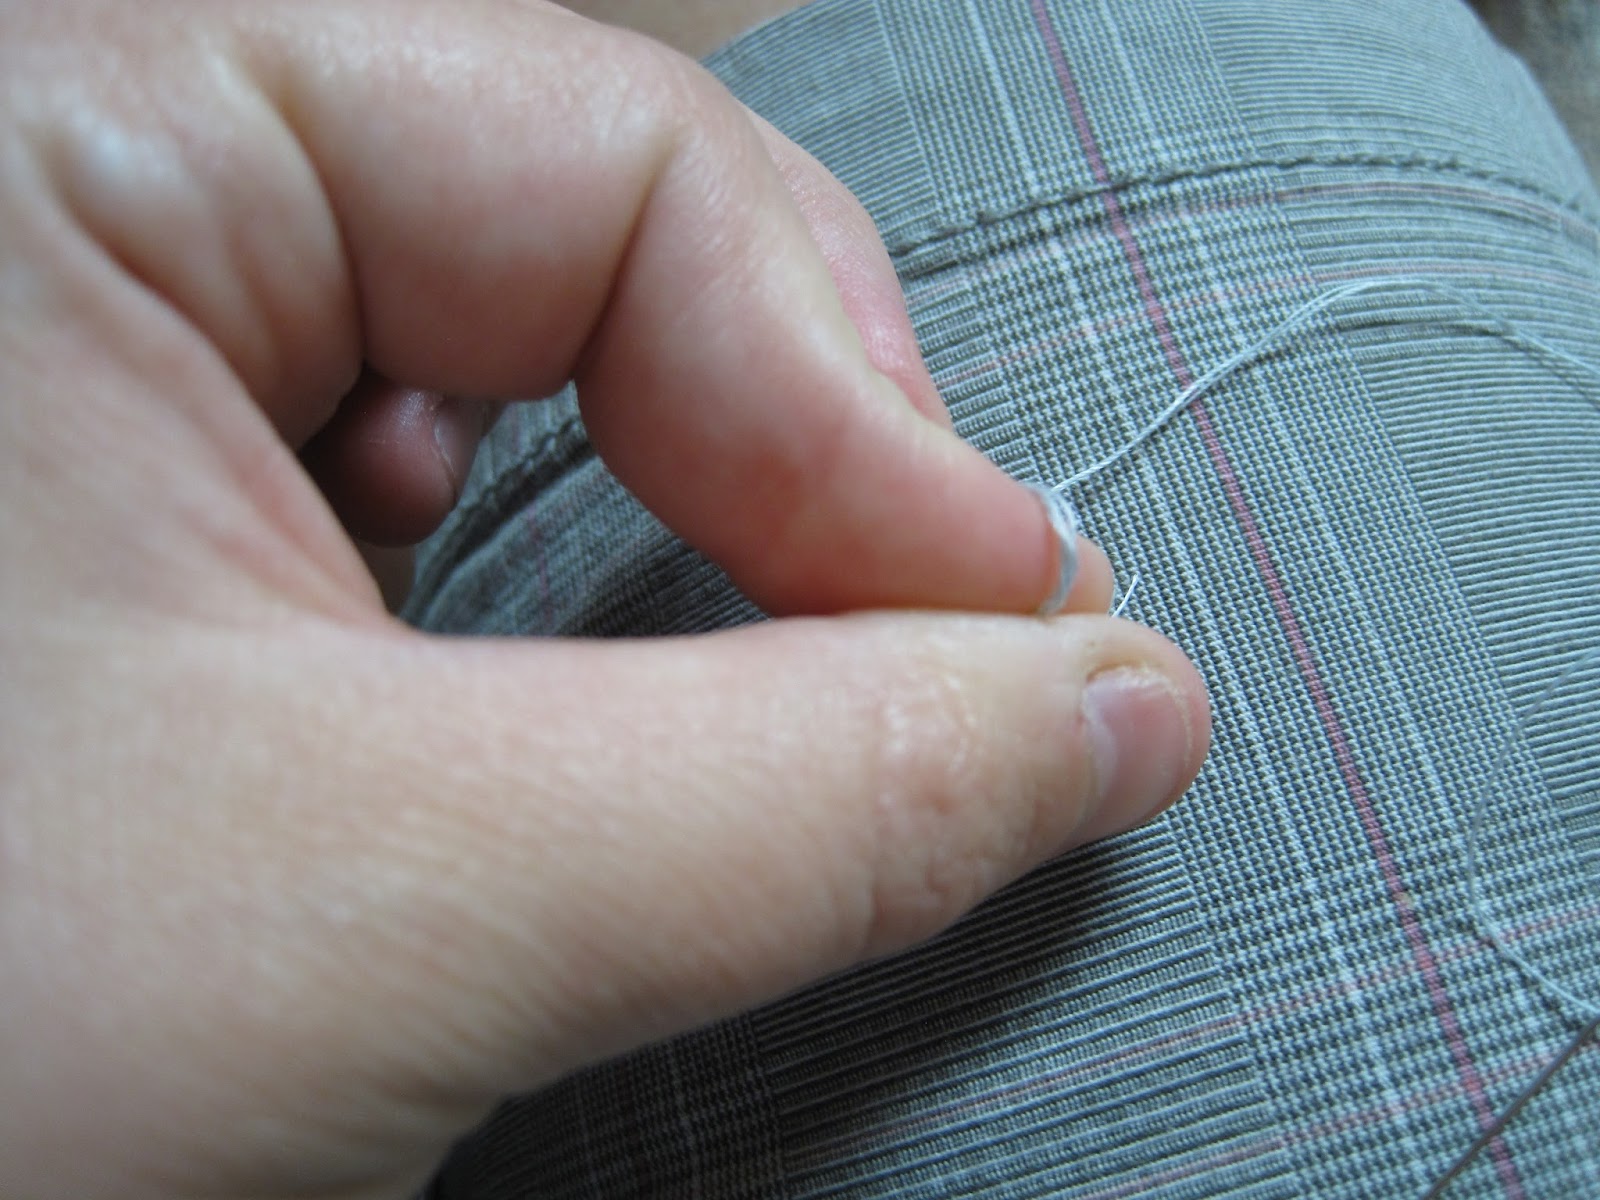
Of course, I need to hem them a little... because I'm short. 

Not bad, though, huh?

Please ignore all the stuff on my floor. And the unmade bed. And the scuff on the wall. And why is there a sponge behind my foot?

~6~
I need some suggestions. I've been cutting down on coffee by drinking more tea...

So I've really been switching one vice for another....

I've been dabbling with lots of teas but I don't think I've found a favorite. And I need advice. Tea drinkers- what's your favorite?

~7~
Okay, so I've run out of takes.   Six isn't bad, right? 

Happy Friday, all! 

I'm linking up today with Conversion Diary.


Thursday, October 3, 2013

Little Wife's Guide To: How to Sew on a Button

I had a roommate in college who once popped a button off of her winter coat. And she had no idea what to do. And I realized- not everyone knows how to sew a button back on!

If you're one of those people, don't feel bad. I was lucky enough to have a mom who knew how, and she taught me. And today, I'm going to teach you!

 Now, I'm definitely not a button-sewing expert (by any means!) but this is my little tutorial on how to sew on a button. It may not produce the most glamorous button stitch-work out there, but it gets the job done- Little Wife style.

You're going to need a needle and thread. I like to use shorter needles for sewing buttons.

Step 1:

 First things first- you'll have to thread the needle. Dampening the end a little should help.

Step 2:
 When you're needle is threaded, cut off the end still attached to the spool. Put the ends together.

 Then, to tie a knot, I loop the threads around my index finger, then pinch and twist the thread.


Then I pull the knot to the end of the string. This doesn't have to be pretty. No one will see it! The two strings should now be tied together. I like to use this double-thread method because I think it holds more strongly- and then one stitch produces twice the thread hold!

Step 3:
Usually, the place where the button fell off will have a mark- either leftover threads or a whole or a worn spot. Find that and then, push your needle through the wrong side of the fabric. Pull the thread tight. Then choose a hole in the button and thread your needle through.

 Put the needle through the opposite hole in the button, and then through the fabric on the right side. Pull tight.

You've made your first stitch! Your button should look like this, and your needle is now on the wrong side of the fabric. Make sure your button is tight to the fabric before you move on.

Step 4:
 Put your needle through one of the holes you haven't yet used, and then through the opposite hole again.

Step 5:
Your button now looks criss-crossed, like this! Follow steps 3 and 4 several more times, until you feel that the button is secure.

 Step 6:
As you can see, my "no nail-biting goal" isn't going great...
 Now it's time to finish it up with a good knot. Push your needle through to the wrong side of the fabric.

 Then put your needle through the back side of some of the stitches you've made. If you hit a little fabric here, that's okay.

 Pull the needle through to make a loop. I usually hold on to the loop to make sure I don't pull it all the way through!

 Pull your needle through the middle of the loop, so it looks like the picture below.


 Then go under the middle thread to complete the knot.

Pull tight to secure the knot, and then clip the excess thread.

Ta da! Button sewn.

Look at you, you frontiersman! You pioneer woman! You independent, button-sewing tough guy.

And that's how you sew on a button!


Friday, September 27, 2013

Frugal Friday- Little Wife's Guide To: Making a Cardigan


My husband had to go get the exhaust fixed on the truck this evening, so that meant I was home alone. What to do... what to do....

Upgrade a too-big shirt into a cardigan, of course!

I love Goodwill- specifically, our Goodwill. It's got some really great stuff- high quality, gently used, and now just waiting to be loved by someone new. Goodwill is an awesome place to save money on clothes. Even if something's not exactly what you're looking for, $4.00 for a shirt isn't bad, even if you have to do some tweaking!

I got this great gray long-sleeved shirt at Goodwill the other day- it was so soft! But I already have a lot of long-sleeved shirts... I was really looking for a gray cardigan. Here's how I turned my long-sleeved shirt into the cardigan I was looking for!


 Here's the shirt. First, I washed it and dried it (like, 5 days ago, but I never put it away... hee.)

 Next, I measured the width of the shirt and marked the middle. I measured about 5 times- the shirt narrows at the waist and widens at the bottom (most shirts will!) so to make sure my line was straight, I made sure the measure a lot.


Then I cut the shirt at my measurements, so it opens at the front. Like 'dis!

Then, I cuffed the edges so they were folded 1/4 inch towards the outside edges, and then folded them under. This way, my edge won't fray. I pinned up the edges. And, since my husband wasn't home, I took the pinning downstairs and watched a little "Last American Cowboy."


Then I used a zig-zag stitch to sew up the edges. At this point, I got hungry, so I went and had a cookie for supper. No husband to feed, you know.


The finished sewn edge looks like this... and then I removed the pins... cookie still in hand.


I decided to add buttons to my cardigan next. I've never made a buttonhole in my life, so the buttons are just decorative.
Zeke's grandma was the one who saved these buttons. After she died, at the age of 98, I was given her sewing basket and all her odds and ends. She must have saved years of buttons- most with little scraps of fabric attached. I wonder who wore the blue shirt these buttons were once a part of... probably grandma herself.

Anyway, I found four of these buttons, and put the bottom button 6 inches from the bottom of the cardigan, and then a button every three inches from there up.
And voila! Shirt becomes a cardigan!


Friday, February 1, 2013

Frugal Friday: Homemade Stovetop Air Freshener

Happy February, everyone one! I don't know about how things are in your neck of the woods, but around here, it's cold! In this bitterly cold weather, a nice warm, pleasantly fragrant kitchen is a wonderful thing to be blessed with.

I love a nice smelling house, I love simple, and I love cheap, so this homemade air freshener is just perfect for me!


1. Take a pot of water (I use a medium sized pot) and fill it up with some water.

2. Add your ingredients.

Here's where you can start getting a little creative. Using ingredients you already have in your home, you can experiment with different additions to get different smells.

Here's what I used this time:

1 Orange Peel (I used the orange for our smoothies this morning)
1 Tbs vanilla extract
2 Tbs ground cinnamon

Other suggestions for ingredients:

Lemon Peel 
Cloves
Nutmeg
Vanilla alone
Slices of oranges or lemons
Grapefruit slices
Cut open a tea bag, or use whole tea leaves

3. Heat mixture to boiling. If you're worried about your concoction boiling over, lay a wooden spoon across the top of your pot. 

4. Reduce heat and allow to simmer. Depending on the size of your pot and on how long you simmer the mixture, you may lose a lot of water. If this happens, just refill the pot with more water and keep going!


A great benefit to this stovetop freshener is that it also acts as a humidifier- it releases moisture into the air- which is great for the dry air of the winter months!

Friday, January 25, 2013

Frugal Friday: Water Bottles

Money escapes our homes in big ways and in small ways. The bigger things (like tuition payments, large purchases, insurance) are the ones that stick in our minds. We keep track of how much we spend on those big-ticket items.

However, as much as the big stuff hurts our wallets, the smaller items are the ones that sneak into our pockets and end up costing us a lot of money.

One of those things are disposable water bottles. We drink a lot of water around here, especially in the summer, what with a constantly working maintenance man and all. Water bottles are convenient, they may taste better than your tap water (my tap water tastes like lake in the summer... ew), and they don't seem that terribly expensive.

Oh, but they are. Just do the math!

Our solution?

We bought a bunch of BPA-free water bottles (and found one- it was in the lost and found for four years!). Every time one is emptied, it gets washed, dried, refilled, and stuck back in the fridge. Not only is this a better option cost-wise, but it's also better for the environment.


 What about the taste? We also purchased a filter to put onto our kitchen faucet. This one switches from filtered to non-filtered by turning a knob. So far, we've only gone through one of the disposable filter inserts, and we've had the thing since July... so... six months. And like I said, we drink a lot of water.


It may seem like such a little change, but every little bit helps! If you're a big plastic water bottle person, give it a try!

Even if you don't drink a lot of water, consider changing switching to good old H20. Sugary beverages are super expensive, even more so than water bottles. Convenient? Yes. Delicious? Yes. Good for you? No. Cheap? No.

Making small changes to make yourself just a little more frugal is what it's all about.

Friday, October 12, 2012

Frugal Friday: Lotion Stretching

I must confess... I love fancy lotions.

Don't get me wrong, regular old Jergens does the job, but there's just something about a fancy lotion. That something is the smell.

Ooh man. I love a good smell. Actually, on a sidenote, most of my family loves smells. We're very smell-oriented people. Each and every person has a unique smell, and as kids, we could figure out which of our friends that lost glove belonged to just by sniffing it. We're weirdos, in other words. Glove sniffers.

Okay, back to this.

Anyways, I love fancy, expensive lotion for the fancy, expensive smells that come with them. Unfortunately, I am not a millionaire. Nor am I willing to spend upwards of $10 on a bottle of lotion that will last me... like a month. Tops. Because even though I love fancy lotions from places like Bath and Body Works, I use too darn much of it to justify the cost.

Enter my new best friend, the fancy-lotion stretcher.


I love good old-fashioned Queen Helene Cocoa Butter Body and Hand Lotion. Love it. It costs less than $5 a bottle (at least at the department stores around me), and there are a whopping 32 ounces per bottle. Not only is it cheap, but it works great. And I'm somewhat convinced that it has magical powers. That, or I should just hate my 5'3", 90 pound sister for not getting a single stretch mark during her pregnancy (even though she looked like a bus).

The best part is, the light cocoa butter fragrance in this lotion makes it perfect to add to any other lotion (read: the expensive, great-smelling ones). I've added this lotion to my fancier stuff without losing the quality and while still keeping the yummy fragrances I love.

Because I'm a glove-sniffing cheap-skate.

nRelate Posts Only