Under Construction....

Please excuse my interweb-dust! Changes are underway- thanks for your patience!
Showing posts with label Crafts. Show all posts

Thursday, October 3, 2013

Little Wife's Guide To: How to Sew on a Button

I had a roommate in college who once popped a button off of her winter coat. And she had no idea what to do. And I realized- not everyone knows how to sew a button back on!

If you're one of those people, don't feel bad. I was lucky enough to have a mom who knew how, and she taught me. And today, I'm going to teach you!

 Now, I'm definitely not a button-sewing expert (by any means!) but this is my little tutorial on how to sew on a button. It may not produce the most glamorous button stitch-work out there, but it gets the job done- Little Wife style.

You're going to need a needle and thread. I like to use shorter needles for sewing buttons.

Step 1:

 First things first- you'll have to thread the needle. Dampening the end a little should help.

Step 2:
 When you're needle is threaded, cut off the end still attached to the spool. Put the ends together.

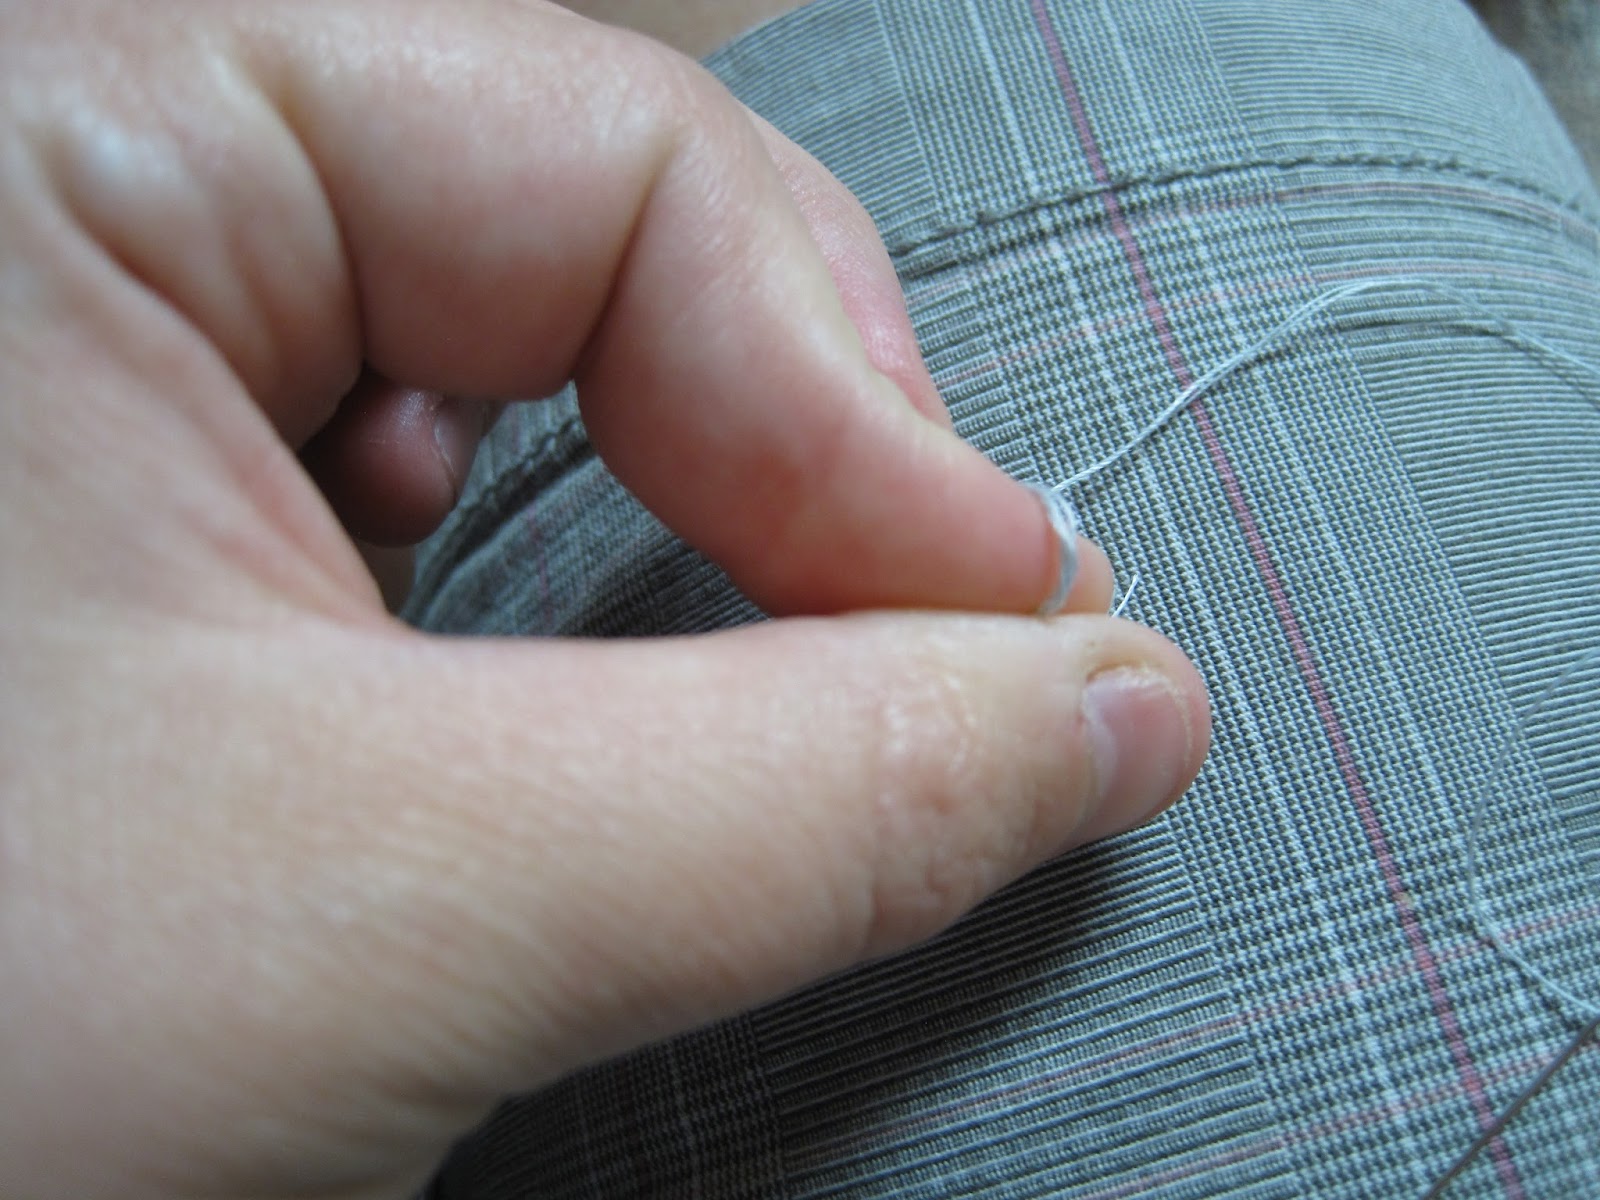
 Then, to tie a knot, I loop the threads around my index finger, then pinch and twist the thread.


Then I pull the knot to the end of the string. This doesn't have to be pretty. No one will see it! The two strings should now be tied together. I like to use this double-thread method because I think it holds more strongly- and then one stitch produces twice the thread hold!

Step 3:
Usually, the place where the button fell off will have a mark- either leftover threads or a whole or a worn spot. Find that and then, push your needle through the wrong side of the fabric. Pull the thread tight. Then choose a hole in the button and thread your needle through.

 Put the needle through the opposite hole in the button, and then through the fabric on the right side. Pull tight.

You've made your first stitch! Your button should look like this, and your needle is now on the wrong side of the fabric. Make sure your button is tight to the fabric before you move on.

Step 4:
 Put your needle through one of the holes you haven't yet used, and then through the opposite hole again.

Step 5:
Your button now looks criss-crossed, like this! Follow steps 3 and 4 several more times, until you feel that the button is secure.

 Step 6:
As you can see, my "no nail-biting goal" isn't going great...
 Now it's time to finish it up with a good knot. Push your needle through to the wrong side of the fabric.

 Then put your needle through the back side of some of the stitches you've made. If you hit a little fabric here, that's okay.

 Pull the needle through to make a loop. I usually hold on to the loop to make sure I don't pull it all the way through!

 Pull your needle through the middle of the loop, so it looks like the picture below.


 Then go under the middle thread to complete the knot.

Pull tight to secure the knot, and then clip the excess thread.

Ta da! Button sewn.

Look at you, you frontiersman! You pioneer woman! You independent, button-sewing tough guy.

And that's how you sew on a button!


Friday, September 27, 2013

Frugal Friday- Little Wife's Guide To: Making a Cardigan


My husband had to go get the exhaust fixed on the truck this evening, so that meant I was home alone. What to do... what to do....

Upgrade a too-big shirt into a cardigan, of course!

I love Goodwill- specifically, our Goodwill. It's got some really great stuff- high quality, gently used, and now just waiting to be loved by someone new. Goodwill is an awesome place to save money on clothes. Even if something's not exactly what you're looking for, $4.00 for a shirt isn't bad, even if you have to do some tweaking!

I got this great gray long-sleeved shirt at Goodwill the other day- it was so soft! But I already have a lot of long-sleeved shirts... I was really looking for a gray cardigan. Here's how I turned my long-sleeved shirt into the cardigan I was looking for!


 Here's the shirt. First, I washed it and dried it (like, 5 days ago, but I never put it away... hee.)

 Next, I measured the width of the shirt and marked the middle. I measured about 5 times- the shirt narrows at the waist and widens at the bottom (most shirts will!) so to make sure my line was straight, I made sure the measure a lot.


Then I cut the shirt at my measurements, so it opens at the front. Like 'dis!

Then, I cuffed the edges so they were folded 1/4 inch towards the outside edges, and then folded them under. This way, my edge won't fray. I pinned up the edges. And, since my husband wasn't home, I took the pinning downstairs and watched a little "Last American Cowboy."


Then I used a zig-zag stitch to sew up the edges. At this point, I got hungry, so I went and had a cookie for supper. No husband to feed, you know.


The finished sewn edge looks like this... and then I removed the pins... cookie still in hand.


I decided to add buttons to my cardigan next. I've never made a buttonhole in my life, so the buttons are just decorative.
Zeke's grandma was the one who saved these buttons. After she died, at the age of 98, I was given her sewing basket and all her odds and ends. She must have saved years of buttons- most with little scraps of fabric attached. I wonder who wore the blue shirt these buttons were once a part of... probably grandma herself.

Anyway, I found four of these buttons, and put the bottom button 6 inches from the bottom of the cardigan, and then a button every three inches from there up.
And voila! Shirt becomes a cardigan!


Wednesday, January 16, 2013

Mostly Wordless Wednesday

Here's a peek into my house and life lately...

 My winter theme is gray and yellow... here's my centerpiece.

 I had so much fun making little fabric flowers that I decorated the TV, too.

 It's cold out there! We've gotten quite a bit of snow this winter, and the lakes are frozen over, too.

Repost, I know.. I just love this picture of the Tucky Turtle by our frosted window!

Monday, January 14, 2013

My Dry Erase To Do List

I got sick of writing To Do lists. Don't you? It seems like I write the same thing every week anyways! I came up with a solution.

Dry Erase To Do Lists!!


All you need to recreate these lovelies are some clear page protectors, scrapbooking paper, dry erase markers, and magnets.


Then write your list on the scrapbook paper...


Put your lists in the page protector. I put two lists in each, so I can just flip them over and voila! Two more days! I hang mine up on my fridge with magnet clips.


You can cross off as you go, and add things if you need to (like if you have to call the insurance company. Oh, I have to call the insurance company!! Whoops!).


So there you have it! The newest thing making my life easier!

Thursday, January 10, 2013

How I Hem Pants

The name Little Wife didn't just pop into my head randomly- it came about because, well, I'm little. And a wife. I'm all of five feet tall, which means that I have been hemming my jeans, dress pants, and even the occasional skirt, since I could hold a needle (okay, maybe not that long. But pretty close!). Getting pants professionally hemmed costs lots of money, and though I do recommend it when you're working with something especially fancy or when you're strapped for time, I don't like going the pros when I can just get it done at home.

Now, I'm definitely not an expert on the subject, even though I've been doing it forever. I've probably been doing it wrong forever. But despite my wrongness, I'm gonna share how I hem pants.

The Before.

Note how the pants are so long that they even cover my tippy toes. Yep. Time to hem these puppies up!


First, I take a pair of pants that are already at the length I want. I measure the inseam. In this case, the inseam is 29 inches. Cuz I'm small. I'm a short shortie.


Then, I take the pair of too long pants , turn them inside out, and measure the inseam. I cuff the pants at the right inseam (29 inches) and measure how long the cuff is (4 1/4 inches).


I pin the cuff (loosely... perfection isn't key at this point). Then I try on the pants, still inside out. Since every pair is different, sometimes the right inseam on one pair isn't the right inseam on the next. Or maybe you want to wear heels with a certain pair. Try on those pants with the shoes you'll wear 'em with most often. Decide if you need to go longer or shorter.

In my case, I decided that they needed to go a little longer. Then I decided how wide a hem I wanted. I like having a very narrow hem, but a wider one is easier... I decided to use a 1/4 inch seam, so I needed 1/2 inch extra for the hem. So, I need to cut 3 1/4 inches off

I cut the extra off the bottom using a rotary cutter and mat. However, if you want to make the back longer, you'll want to mark at cut with scissors instead. Use the age old rule- measure twice, cut once.

After cutting the extra, I fold the cuff over again (at the length I've decided to use for the hem- in this case 1/2 inch). The I tuck the edge under, and pin, and measure again. The pinned hem should be right about at 1/4 inch. I go around the entire leg like this- measure, tuck, pin, measure- until the leg is all pinned, then I do the same on the other leg.


Next, I take out my lovely sewing machine, and, using matching or coordinating thread, I sew my hem.


And then it looks like this. Take all the pins out, and then try them on!


The After:

Ta Da!

nRelate Posts Only