I had a roommate in college who once popped a button off of her winter coat. And she had no idea what to do. And I realized- not everyone knows how to sew a button back on!
If you're one of those people, don't feel bad. I was lucky enough to have a mom who knew how, and she taught me. And today, I'm going to teach you!
Now, I'm definitely not a button-sewing expert (by any means!) but this is my little tutorial on how to sew on a button. It may not produce the most glamorous button stitch-work out there, but it gets the job done- Little Wife style.
You're going to need a needle and thread. I like to use shorter needles for sewing buttons.
Step 1:
First things first- you'll have to thread the needle. Dampening the end a little should help.
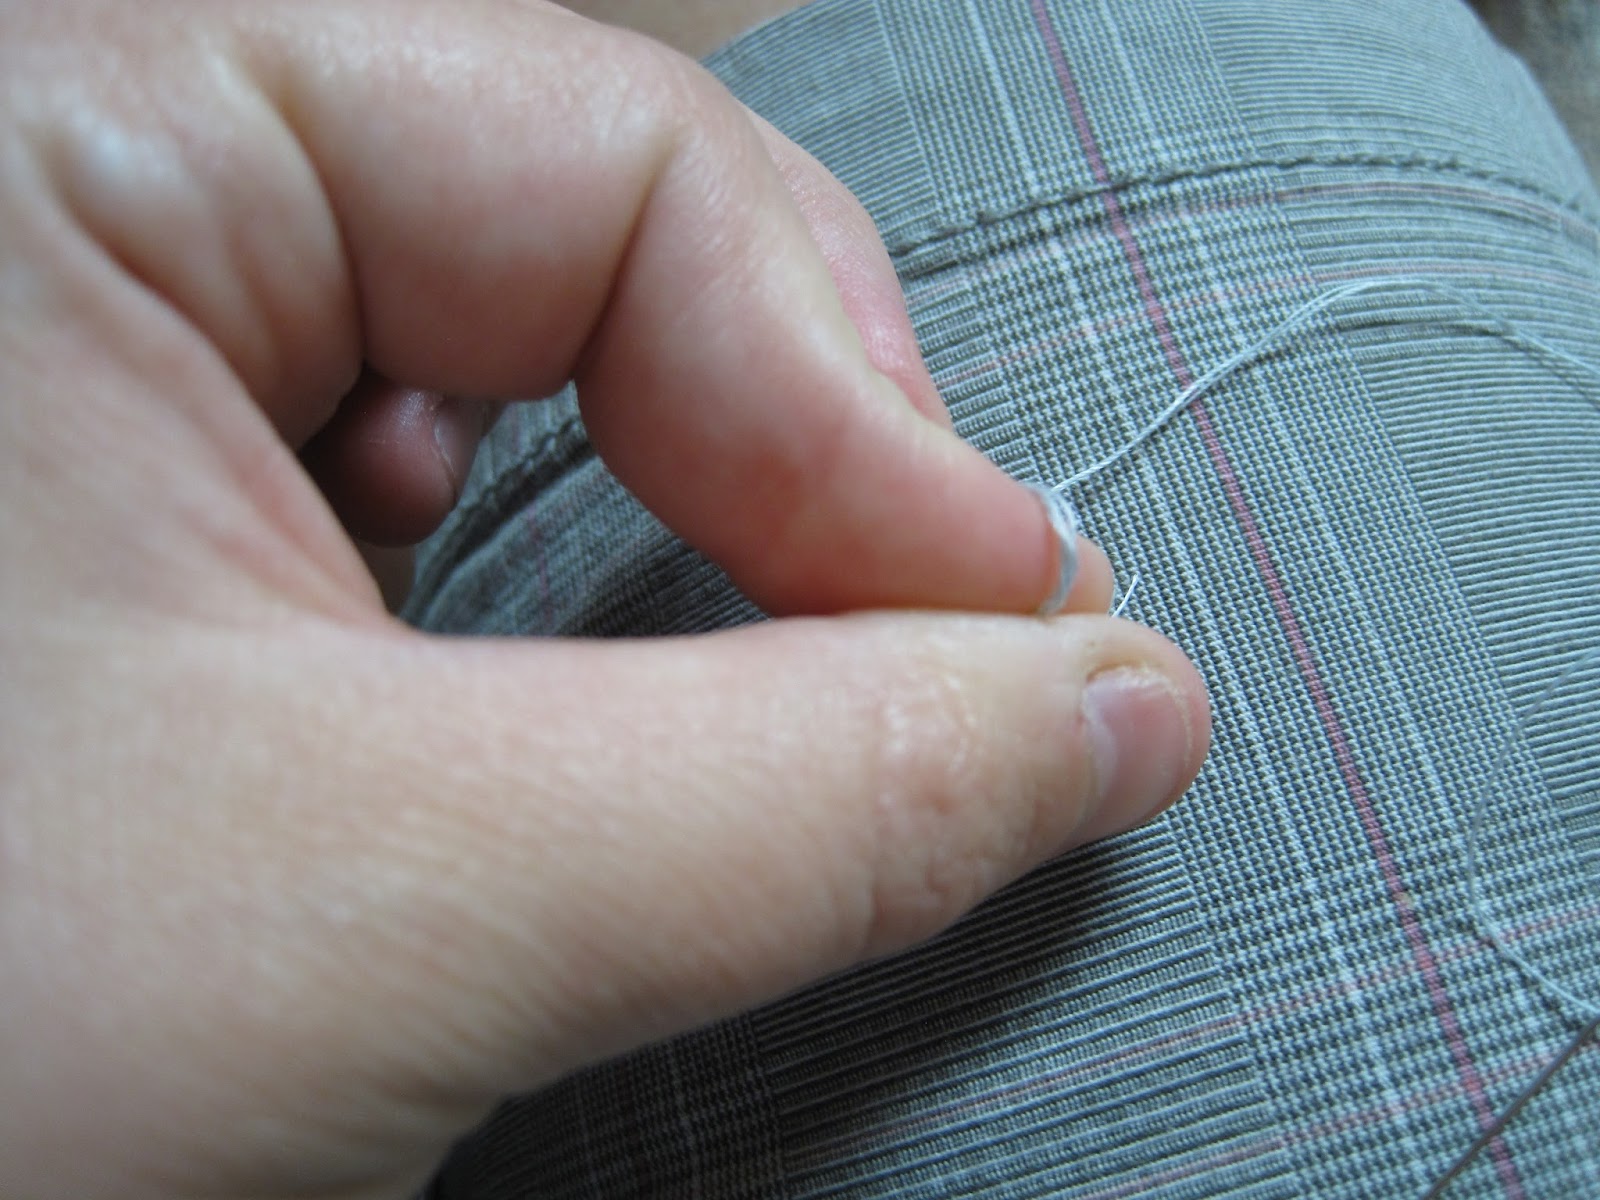
Step 2:
When you're needle is threaded, cut off the end still attached to the spool. Put the ends together.
Then, to tie a knot, I loop the threads around my index finger, then pinch and twist the thread.
Then I pull the knot to the end of the string. This doesn't have to be pretty. No one will see it! The two strings should now be tied together. I like to use this double-thread method because I think it holds more strongly- and then one stitch produces twice the thread hold!
Step 3:
Usually, the place where the button fell off will have a mark- either leftover threads or a whole or a worn spot. Find that and then, push your needle through the wrong side of the fabric. Pull the thread tight. Then choose a hole in the button and thread your needle through.
Put the needle through the opposite hole in the button, and then through the fabric on the right side. Pull tight.
You've made your first stitch! Your button should look like this, and your needle is now on the wrong side of the fabric. Make sure your button is tight to the fabric before you move on.
Step 4:
Put your needle through one of the holes you haven't yet used, and then through the opposite hole again.
Step 5:
Your button now looks criss-crossed, like this! Follow steps 3 and 4 several more times, until you feel that the button is secure.
Step 6:
 |
| As you can see, my "no nail-biting goal" isn't going great... |
Now it's time to finish it up with a good knot. Push your needle through to the wrong side of the fabric.
Then put your needle through the back side of some of the stitches you've made. If you hit a little fabric here, that's okay.
Pull the needle through to make a loop. I usually hold on to the loop to make sure I don't pull it all the way through!
Pull your needle through the middle of the loop, so it looks like the picture below.
Then go under the middle thread to complete the knot.
Pull tight to secure the knot, and then clip the excess thread.
Ta da! Button sewn.
Look at you, you frontiersman! You pioneer woman! You independent, button-sewing tough guy.
And that's how you sew on a button!


Hey! I just wanted to stop by and say thank you for sharing your heart in the comments section of my blog. It sounds like you and I are going through similar experiences, and I just wanted to send you "hug" through the internet! :) If you ever need someone to vent to or just listen, please feel free to email me! holls_y@hotmail.com
ReplyDeleteI loved this post. I ALWAYS put off sewing buttons on again b/c it seems like such a pain. Thanks for the reminder that it really is just a few, easy steps! xoxo Holly