I've been busy, too! I wanted to do something sort of patriotic for the holiday, but I really don't have too much to work with just yet, and I didn't want to spend money. I remembered an idea for making little lanterns out of tin cans that seemed pretty easy, cute, and most of all, cheap!
Okay, here's how it works....
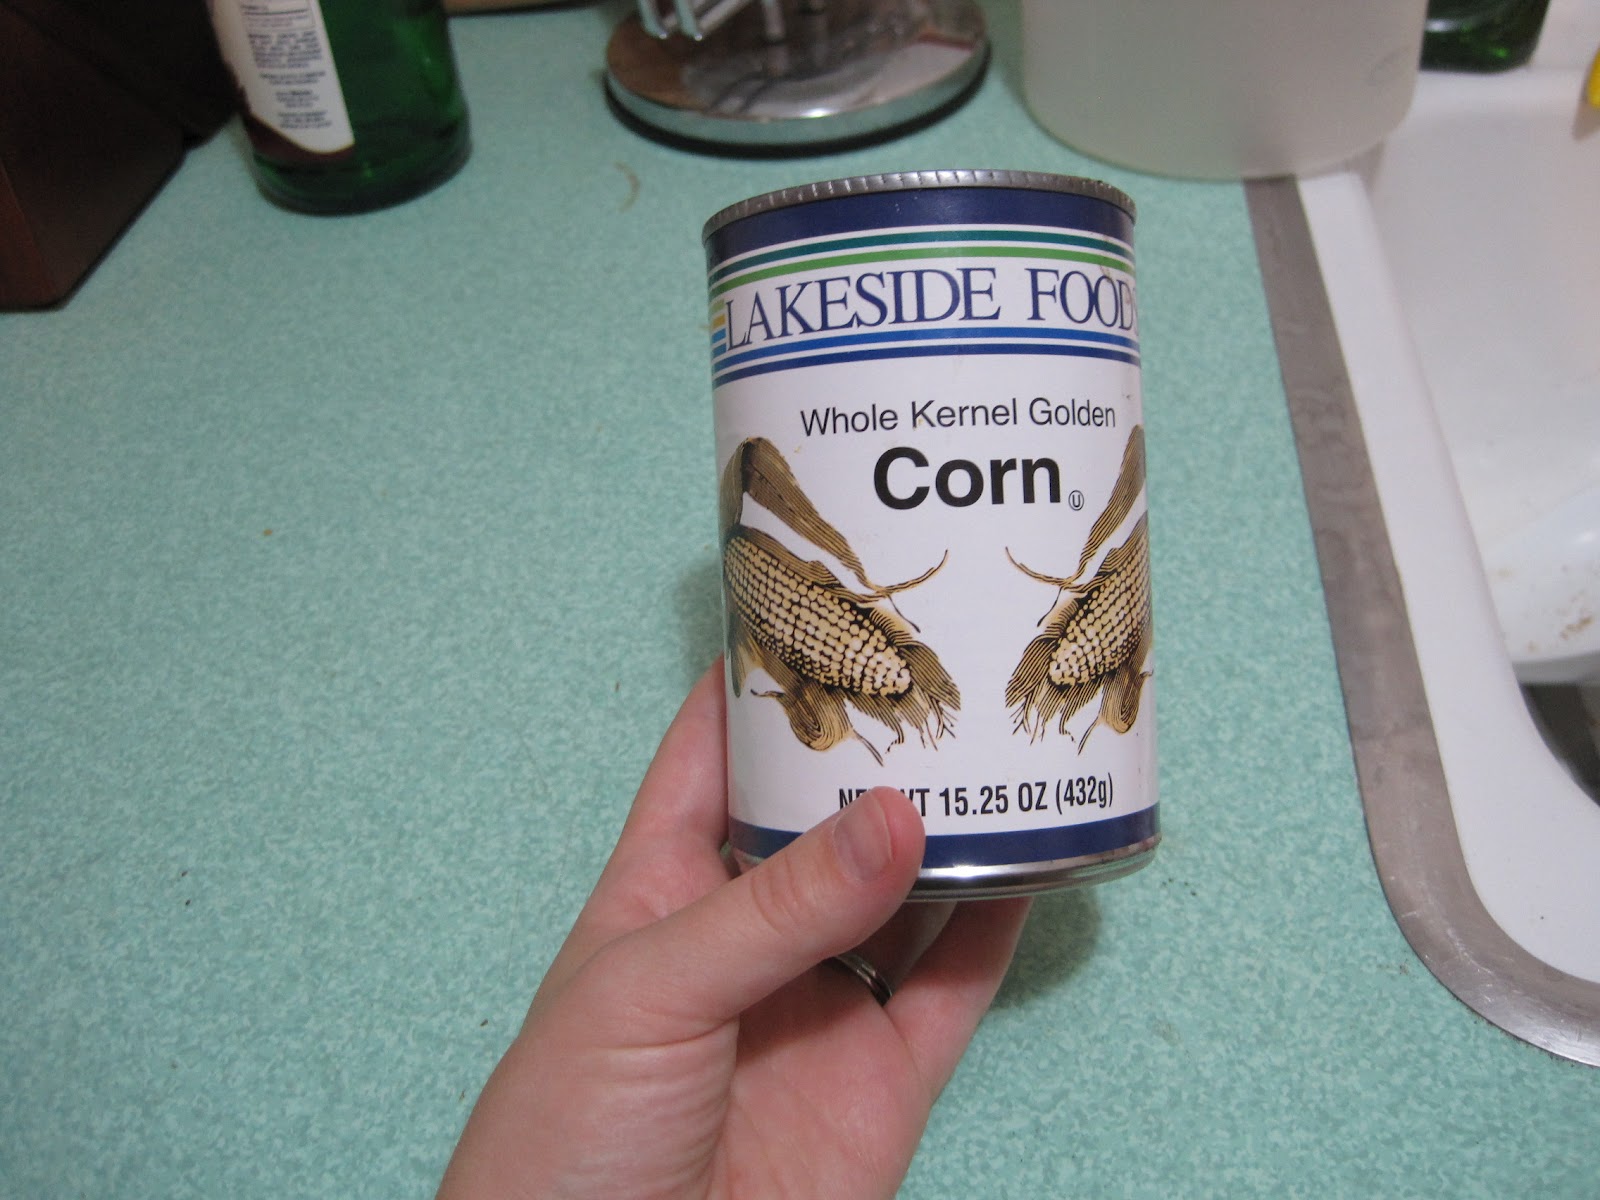
You're gonna need a couple cans. I used three. And I pulled 5 of them out of the recycling bin here at camp. You're also going to need at least one nail and a hammer, as well as a freezer.

First things first, you're going to want to wash out the can really well if it still has any food remnants. At my home, if I didn't, I'd probably wake up to three raccoons, a turkey, and a family of deer asking for seconds.

Then, use warm water to loosen the label, and peel the label off.

Fill the can with water...

...and stick it in your freezer. (Little Wife Note: This is a very important step! Make sure that the ice is completely solid before you go on. It's much, much more difficult and blister-inducing if you skip this part!)

Pull the can out of your freezer (the next day, I'd say) and take it outside!

Because I know my own (lack of) artistic ability, I pre-drew the stars on pieces of paper. Otherwise, I would have made catfish lanterns. I'm trying to make stars, here. I put a nail right through the paper and into the can to begin.

Then I put nails into all of the "important" corners, to give me a guide. (Notice, the ice is already beginning to make a big puddle on the table. It's hot out here, guys!)

At this point, I took the paper guide off, and freehanded the edges of the star. I found that it was pretty difficult to put nails into the raised part of the ridges, so I tried to just put holes on the lower parts.
After I finished my star and put a little candle inside, the can looked like this!

It was all right, but not exactly what I was going for. I consulted with HH. He suggested putting another row of holes into the can.
And I like it much better.

I made three cans like this, and I'll use them tonight on our porch while we watch the fireworks!
I had a couple left over cans- Zeke took care of those... he picked some flowers for me!

Super cute idea!
ReplyDeleteI feel like I haven't commented in forever, but then again I've been a little MIA from blog land for a while now. Such is life, it happens. Love what you have going on here, though. Your wedding story was beautiful, congrats guys!